Introduction
Upwork is one of the world’s leading freelance platforms, connecting talented professionals with high-paying clients from around the globe. Whether you’re a developer, designer, writer, or any other professional, registering on Upwork is the first step towards unlocking a wealth of remote work opportunities. This comprehensive guide will walk you through the entire registration process, helping you create an impressive profile that stands out. For additional tips on optimizing your profile, check out our Upwork Profile Optimization Guide.
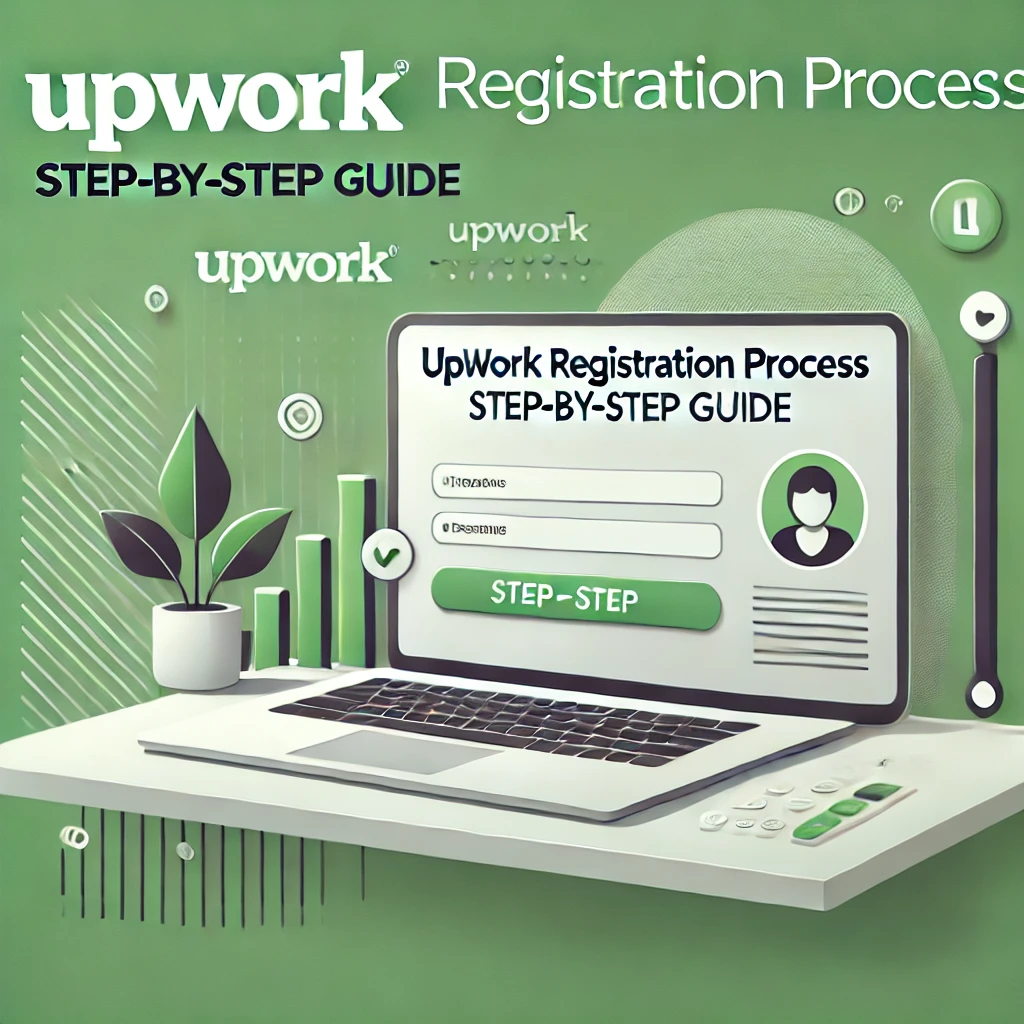
Step 1: Getting Started with Upwork Registration
Visit Upwork.com and Click Sign Up
Begin by opening your favorite browser and navigating to Upwork.com. At the top-right corner of the homepage, click on the Sign Up button.
Upwork offers two options at the start:
- I’m a Client (Hiring for a Project)
- I’m a Freelancer
Since you are here to work as a freelancer, select the Freelancer option. This choice is crucial as it directs you to the registration process tailored for those seeking freelance opportunities.
Fill in Your Basic Information
Once you choose the freelancer option, you will be prompted to fill in some essential details:
- Name: Enter your full legal name.
- Email Address: Provide a valid email address where Upwork can send verification codes and important notifications.
- Password: Choose a strong password to secure your account.
- Country: Select your country of residence to ensure that your profile settings and available jobs are localized appropriately.
After completing these fields, read through and accept Upwork’s Terms and Conditions, then click on Create My Account.
Step 2: Verify Your Email and Phone Number
Email Verification
After creating your account, Upwork typically sends a verification link to the email address you provided. Click on the link in your email inbox to verify your account. This step confirms your identity and ensures that you can receive further communications from Upwork.
Phone Number Verification
In some cases, Upwork may require additional verification, such as confirming your phone number. Follow the on-screen instructions to enter your phone number and input the verification code sent to you via SMS. This added step enhances the security of your account and builds trust with potential clients.
Step 3: Building Your Professional Upwork Profile
Import or Upload Your Resume
A well-prepared resume can set the stage for a professional profile. Upwork allows you to import your resume directly from LinkedIn or upload a PDF version of your resume. This document should highlight your key skills, work experience, and educational background. For more detailed resume tips, visit our Resume Writing Tips for Freelancers.
Complete Your Work Experience and Education Sections
In this section, detail your previous roles, responsibilities, and achievements. Be sure to include:
- Job Titles: Clearly state your role (e.g., Software Engineer, Graphic Designer).
- Company Names and Locations: Provide the names of previous employers and where you worked.
- Duration: Mention the time period you held each position.
- Educational Background: Include your highest degrees and any certifications that bolster your credibility.
Add Your Skills and Write a Compelling Description
List at least five core skills that best represent your expertise. These skills help Upwork match you with relevant job listings.
Next, write a detailed description (a minimum of 100 words) that outlines your background, experience, and what makes you unique. This section is your chance to showcase your personality and professionalism to prospective clients.
Set Your Rates and Provide Contact Details
Decide on your hourly or project-based rates. Setting competitive rates while considering your experience level is crucial.
Additionally, provide accurate contact information including your location and phone number. A professional profile photo that clearly shows your face is also required. Make sure it aligns with Upwork’s guidelines—choose a clear, high-resolution image that conveys professionalism.
Step 4: Finalize and Review Your Profile
Review and Submit Your Profile
Once you have filled out all the required sections, review your profile thoroughly. Check for any errors or omissions and ensure that all information is accurate.
Click on Review Your Profile to see an overview of how your profile will appear to potential clients. If everything looks good, click on Submit Profile.
Post-Submission: Verification Process
After submission, Upwork may require additional verification steps such as:
- Identity Verification: Uploading a government-issued ID.
- Facial Verification: Taking a short video or photo for confirmation.
- Tax Information: Filling out necessary tax forms (W-9 or W-8).
Following these steps correctly will help you achieve a fully verified account, which is essential for receiving job invitations and accessing secure payment withdrawals.
Conclusion
Registering on Upwork is a straightforward process that paves the way for a thriving freelance career. By following this step-by-step guide—from visiting Upwork.com and signing up, through email and phone verification, to building a comprehensive profile—you are well on your way to connecting with high-quality clients and exciting freelance opportunities. Remember, an optimized and verified profile not only increases your chances of landing projects but also builds your professional reputation in the competitive freelance marketplace.
For more insights and expert advice on freelancing, explore our Freelance Career Tips section. Start your journey today and unlock your full potential on Upwork!
For continuous updates on recruitment notifications, exam dates, and preparation tips, make sure to join our dedicated WhatsApp group..